
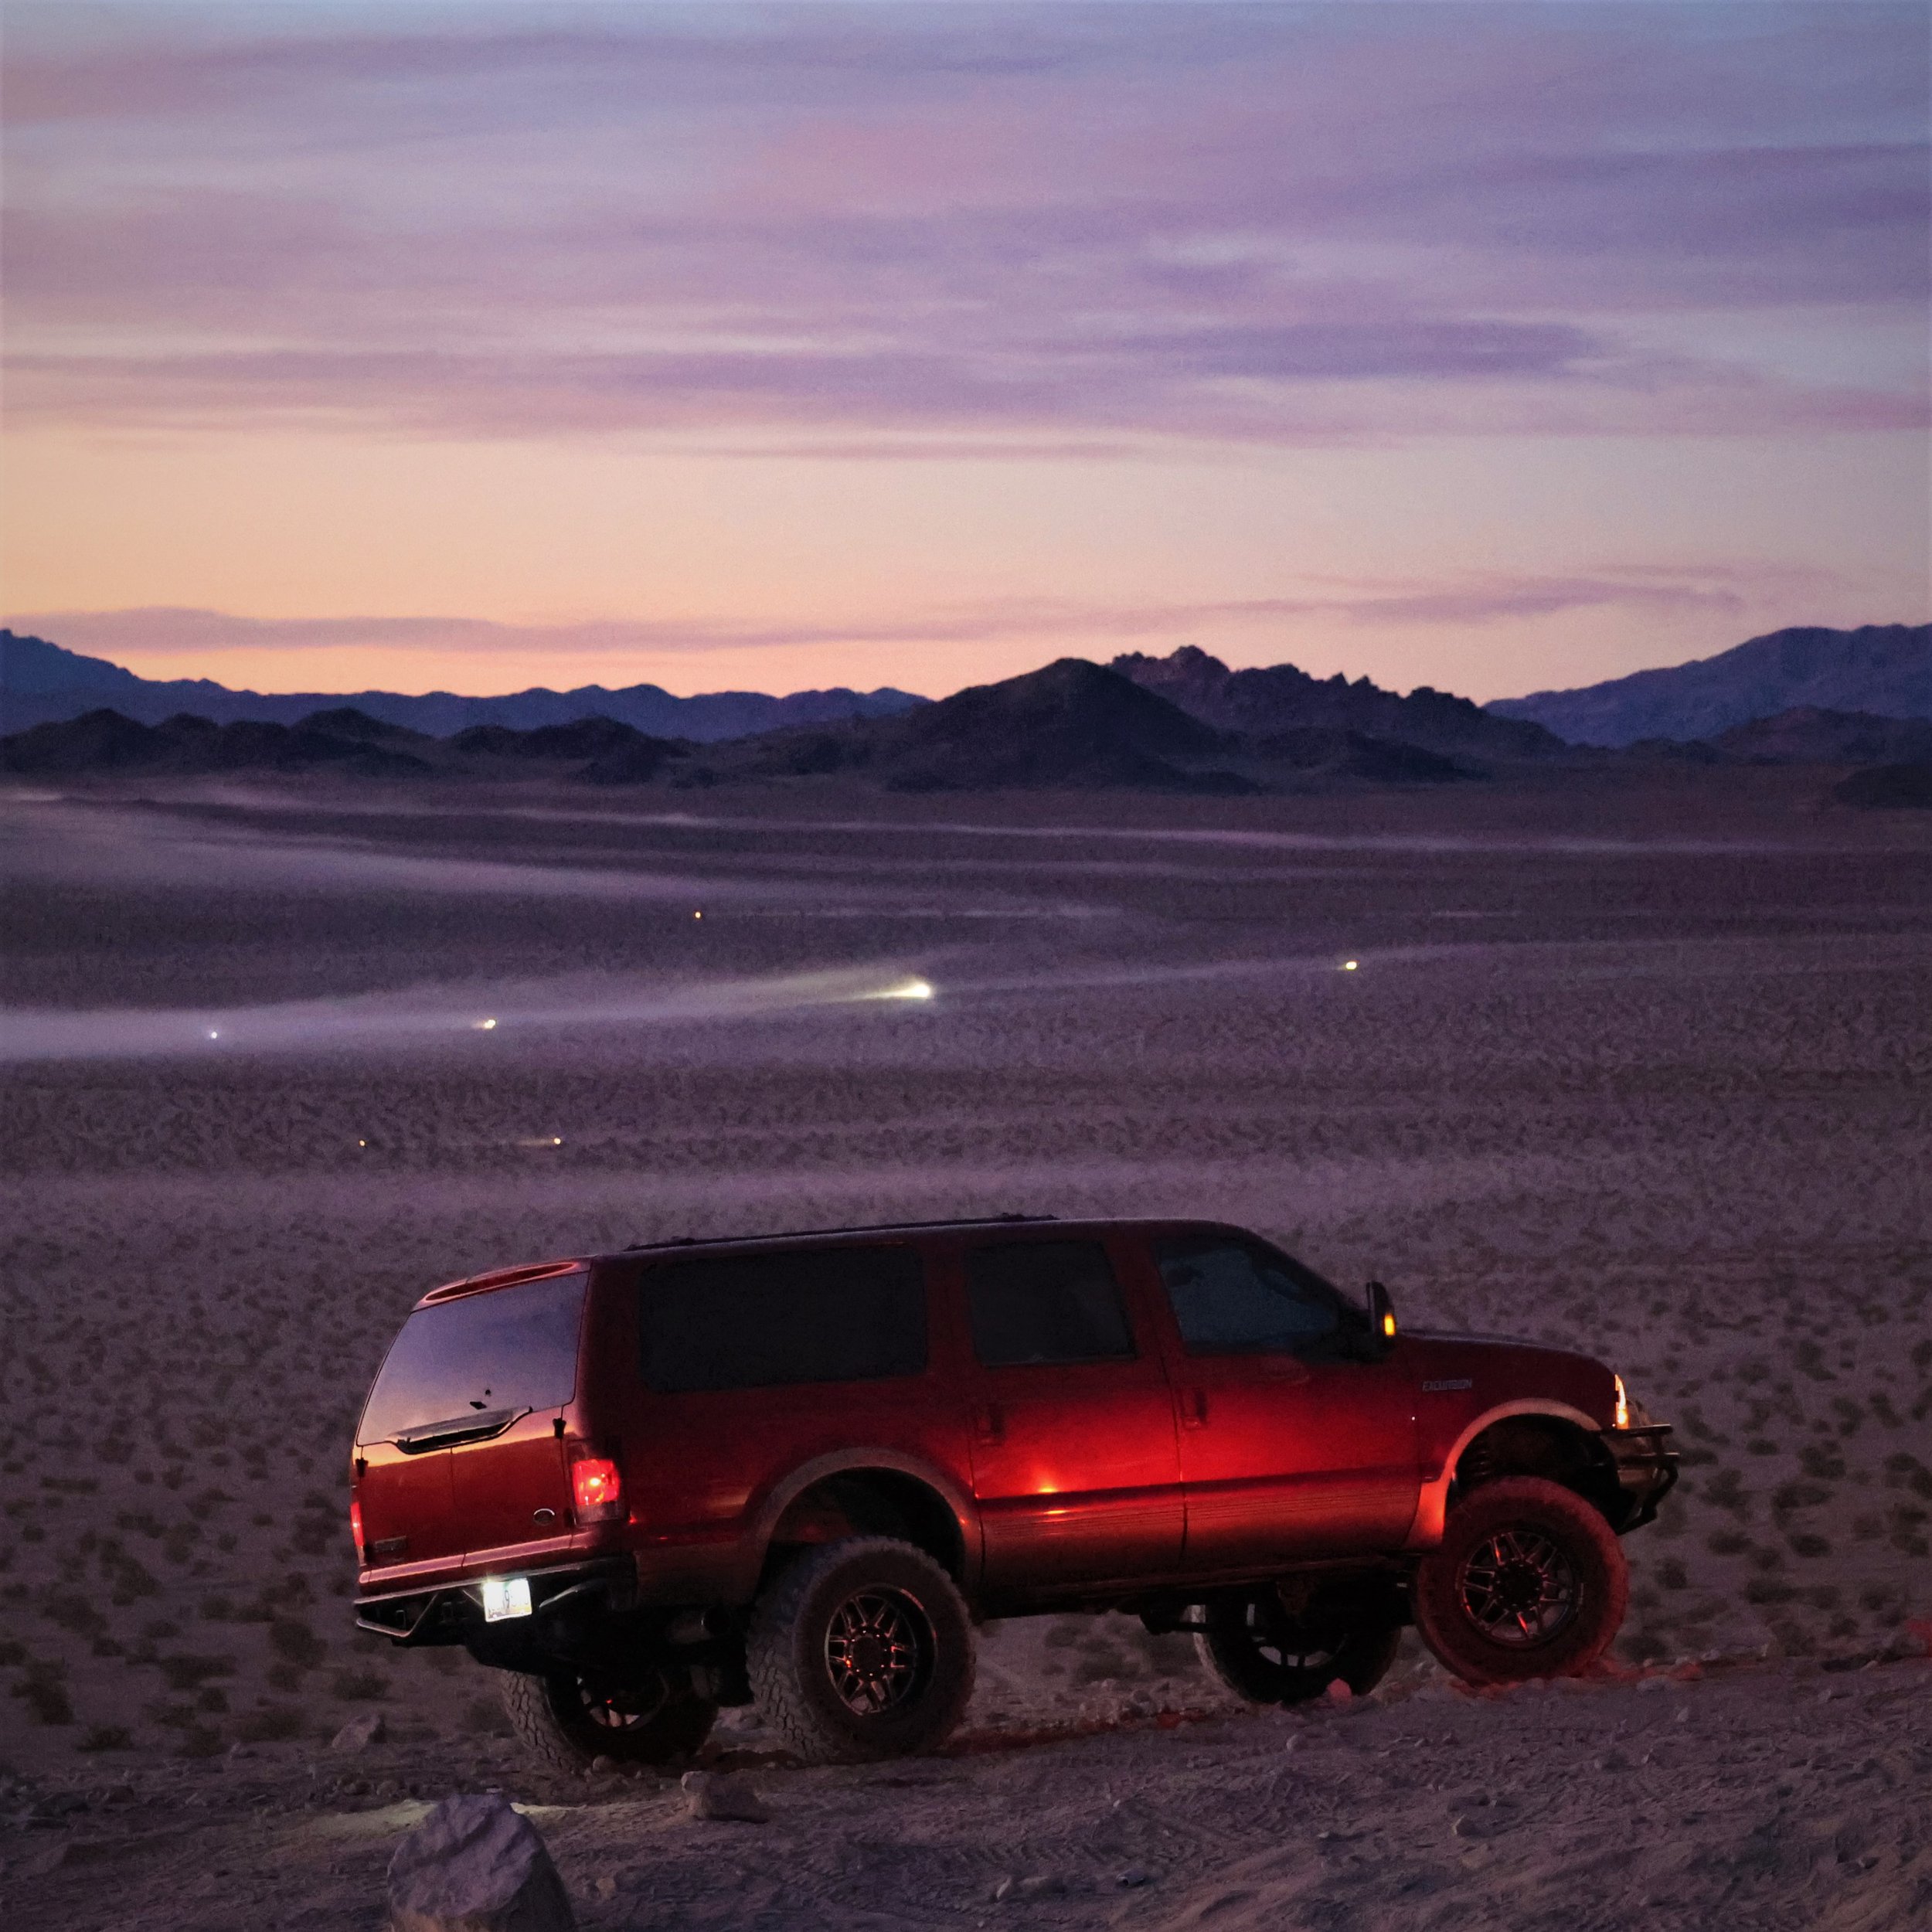
2004 Ford Excursion

Overview
Engine: 6.0 Powerstroke (Built right, not “Bulletproofed”)
Stance: Factory Ride Height (Zero Lift)
Axels: 2005-2008 Dana 60/ Sterling 10.5 (4.11 ‘s & ARB Air Lockers)
Wheels:
Off-road: Maxxis Trep radials (37 x 12.5) on 17×9 Raceline Monster Beadlocks
Towing: (37×13.5) on 20×10 Moto Metal M0992
Bumpers: Scratch built – winch 17.5K Smithy Built
Purpose
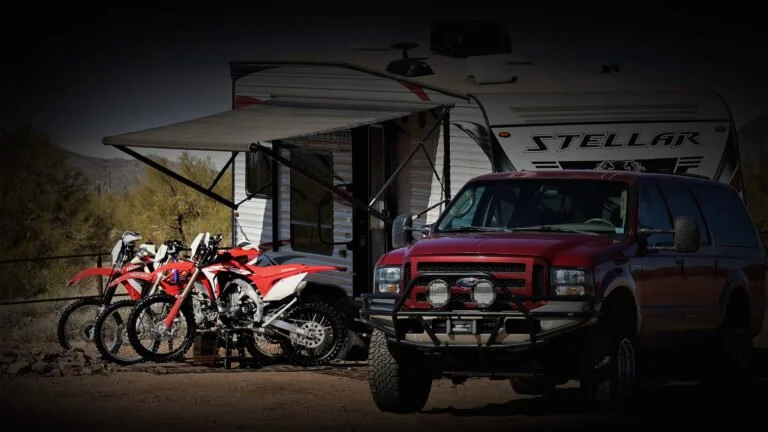
Built to tow a camper to the destination unhook and then explore the surrounding area.
Priorities: 1) Reliability, 2) Roadworthy, 3) Off-road capabilities.
Thus the off-road capabilities are limited by the ability to tow a 10K trailer several hundred miles to a destination. Once there, it is imperative that the vehicle doesn’t break while off-roading.
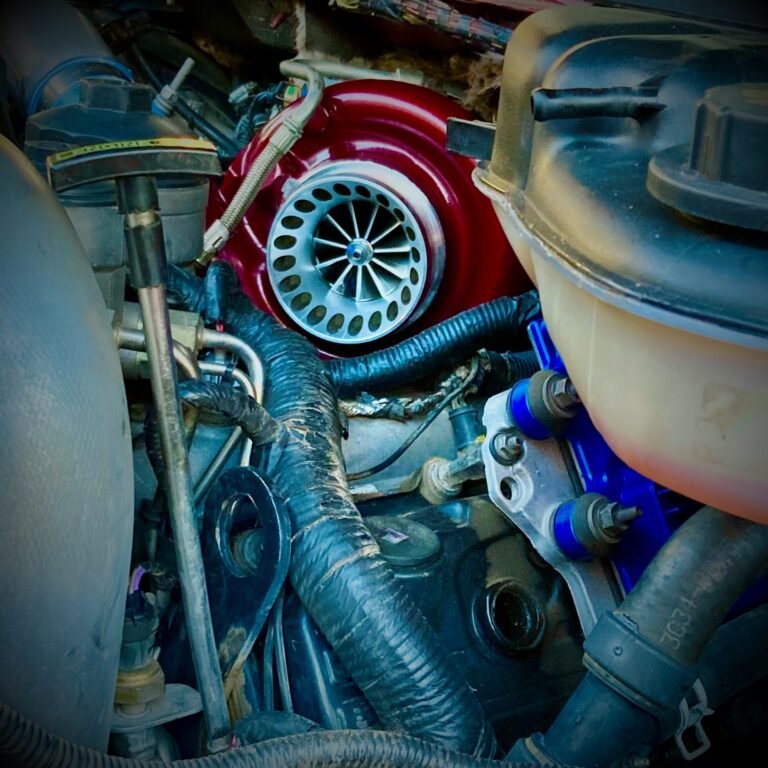
Engine: 6.0 Powerstroke
Being my first Diesel build, I have to acknowledge Anthony from Black Diamond Diesel for helping me sort out all the details on the engine build.
The strategy for a reliable tow build were simple: everything new where possible or rebuilt at the least. Engine out, address the common issues (oil cooler, stand pipes, HPOP…) and lay a solid foundation for future juice (studded and o-ringed heads, billet trinkets, premium parts…).
Yes you can dial in a performance tune and spool the lines off the pavement, but being a tow vehicle the best tune is the stock tune (for us). Not because it gets the best gas mileage but that you don’t have to watch EGT’s so close on the big hills (and in AZ they are 6% for 10+ miles).
Another interesting aside, to gain performance tuners disable fail-safes in the programming. For example we were seeing intermittent MAF signal on grade; with the performance tune the EGTs skyrocketed so quick it was hard to diagnose before needing to back out, on the stock tune we were able to hold steady while we searched all the OBD readouts.

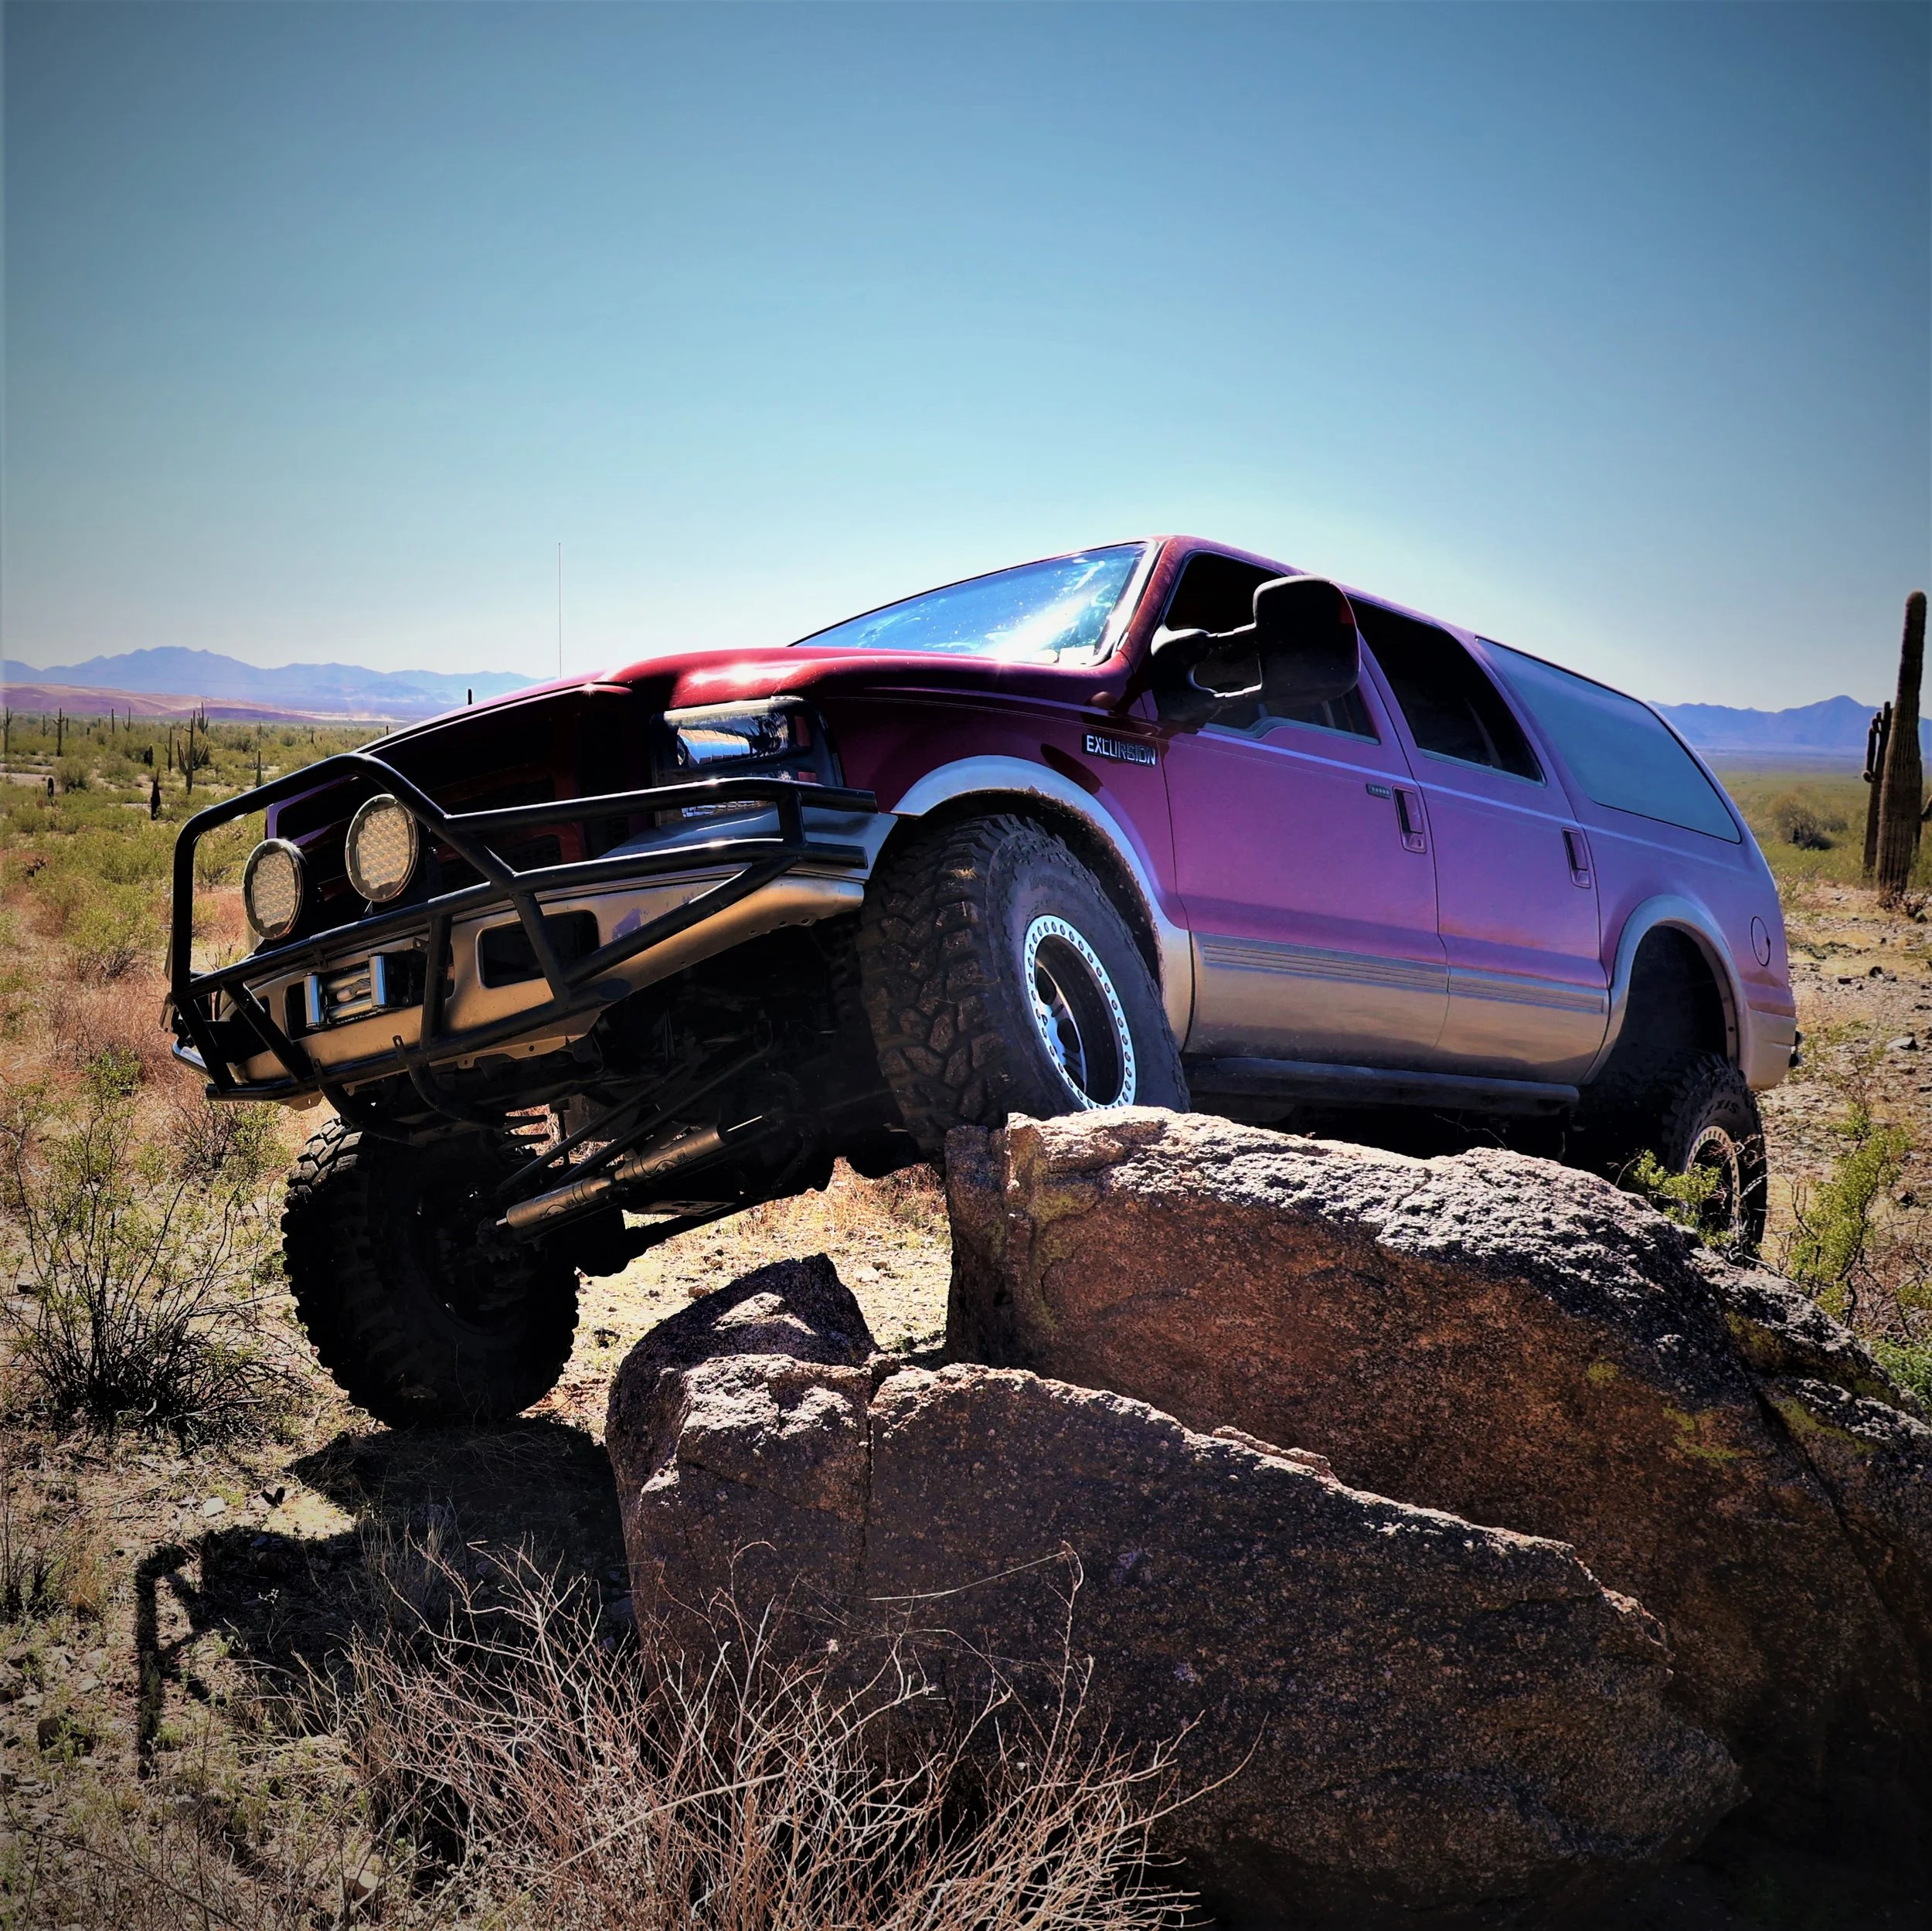
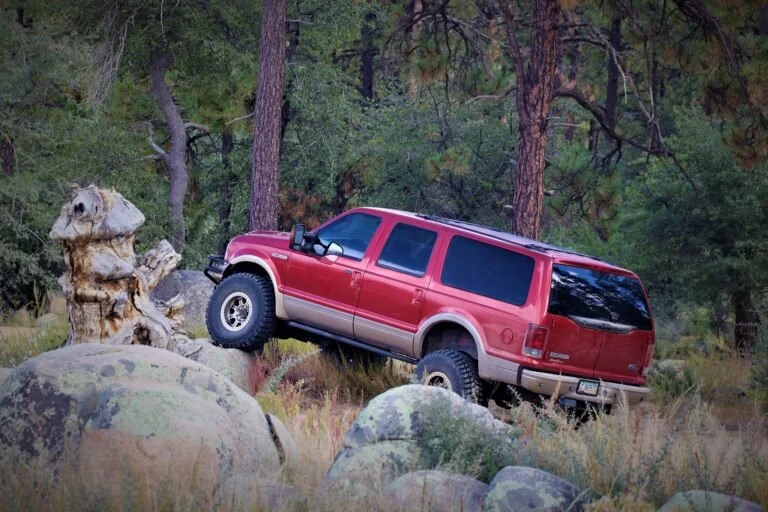
Suspension
2005-08 Coil Swap w. 4 link on 37’s
Travel: 10″ front, 12″ rear; Articulation: 37″
While the above specs simply boils it down, the setup, selection, and placement of those mods makes the truck truly perform.
Some criticize that flex and articulation aren’t everything, and we would agree, but when you have a whole family (and a dog) in the back, it sure is nice to ride on a cloud.
Beyond the coil swap, the single best improvement to handling and road worthiness for the F250 platform is to correct the caster.
Somebody please enlighten me as to why the factory specification is nearly zero on production solid axel vehicles!! Talk about dangerous, and they handle like shit too!!
How ever you decide to do it, go at least 6 degrees, 12 is better.
The next best thing is to ditch the leafs. Not that they cant be tamed, on the front of the truck they just are too unruly in contrast to a rigid link setup (the coils and extra turning radius are just a bonus).
Rolling with modern F250 axels enables a nearly plug and play swap. For example: the driveshafts, bolt pattern, speed & ABS sensors, etc. all swap pretty much seamlessly. Additionally, link kits that utilize the radius arm mounts are readily available. Selecting a kit with adjustable arms enables the front axel to be moved up to 2 inches forward too (increasing tire clearance at the cab).
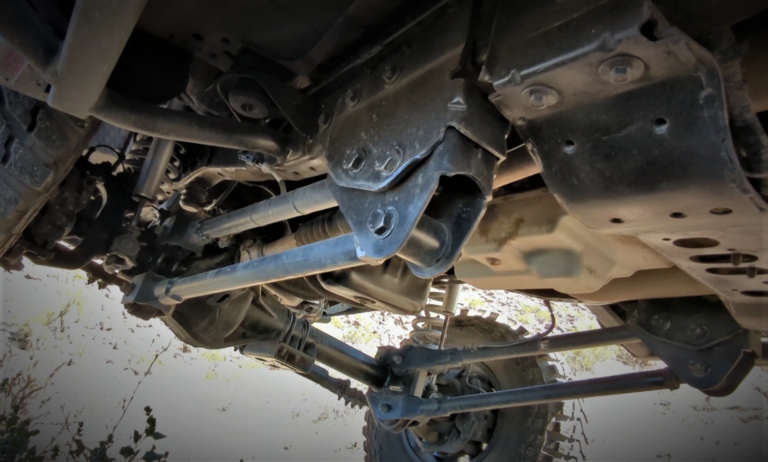
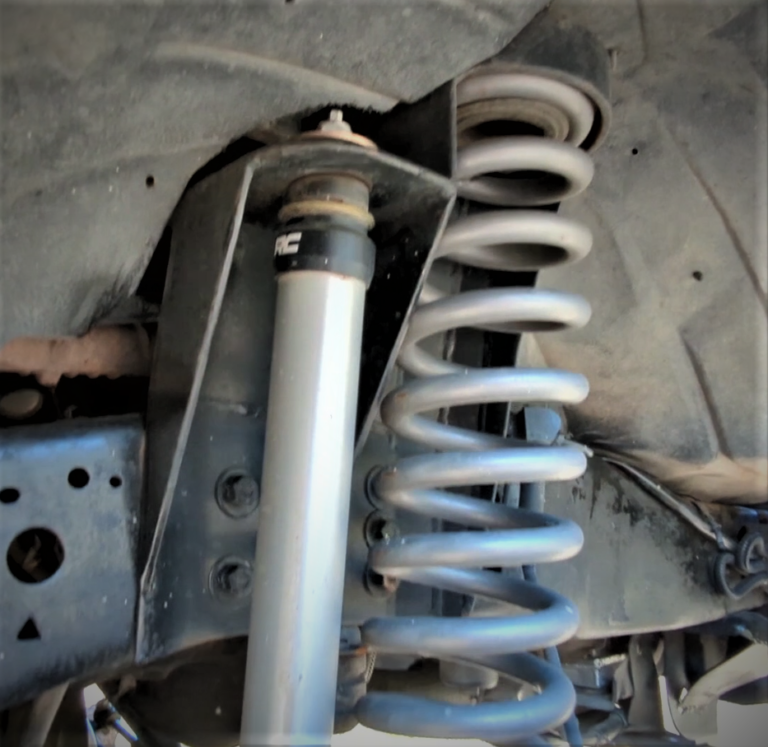
The key to gaining articulation and travel without altering the ride height of the vehicle is extending the coil buckets as high into the truck as you can stomach. Shown here, the tops of the coils are nearly at the top of the fender liners (pass. side); the driver side coil is only a few millimeters away from the battery (extending above the liner).
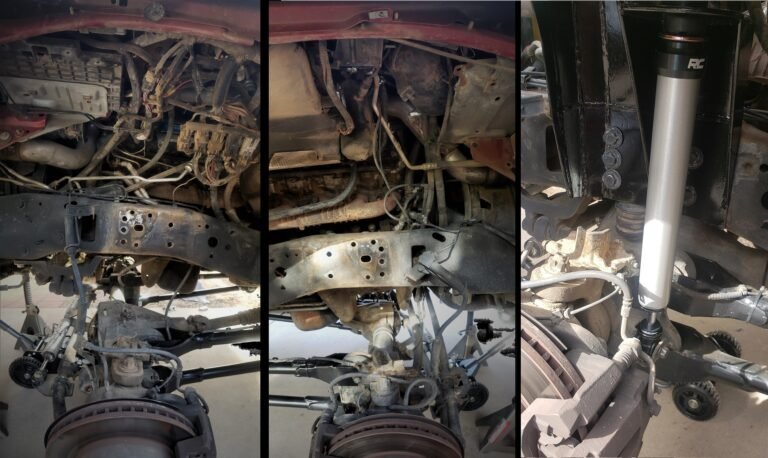
The biggest challenge when making room for the extended coil buckets are that the air conditioning dryer must be moved up. We were able to re-bend the lines and make a relocation bracket to remount it securely in its new position. Shown here are panoramic photos with the fender liners, and factory coil buckets removed; also shown is the axel hitting on the factory bump stops without the shock bottoming out.


Videos